Bulb Lasagne is a method of planting spring flowering bulbs which aims to produce a succession of flowers from early to late Spring.
It’s the perfect activity for autumn, when the growth in the garden is slowing and creates the promise of beautiful, early colour in Spring.
It’s a very simple concept – in a deep pot, you plant bulbs in layers with the largest and latest flowering bulbs at the bottom (usually this will be Tulips) and the smallest and earliest flowering bulbs at the top (so possibly Crocus or Iris reticulata).
If you are using three layers then Narcissus make an excellent mid-Spring flowering bulb for the layer between the earliest and the latest.
What you will need:
- Choose a deep pot with at least one decent drainage hole – something approximately one foot deep (30 cm) is probably about right. If you have a much larger pot you can save on compost by putting some small plastic plant pots upside down in the bottom to partially fill up the pot. If you are using a terracotta pot ensure that it is frost proof
- 3 types of bulbs – in different sizes and with different flowering times.
- Peat-free compost – if your compost is heavy, which peat-free can sometimes be, consider mixing it with some grit or perlite to aid drainage
- Horticultural grit
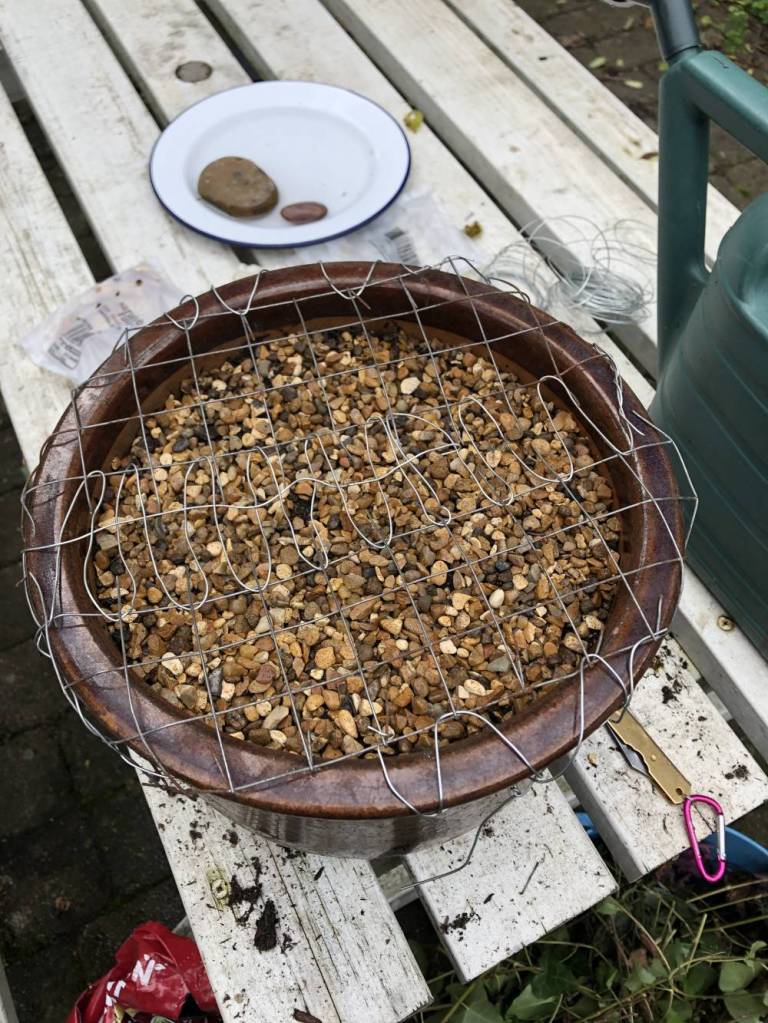
- Chicken wire or similar
- A label if you are likely to forget what you have planted
The method is very simple;
- Fill the bottom of the pot with crocks (broken pieces of pottery – often easily found in the garden in the form of old plant pots) or pebbles to ensure that there is very good drainage. Many bulbs hate sitting in wet soil.
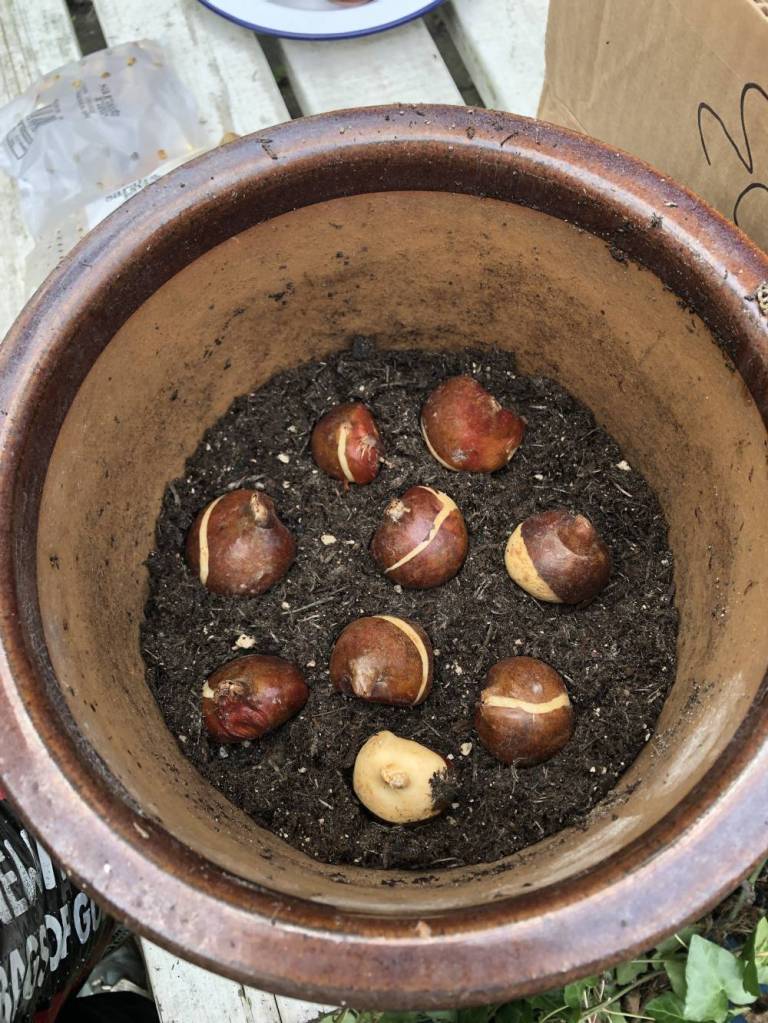
- Using the peat-free compost, fill the bottom of the pot so that you have about 8 inches of empty space left above the soil. Now add your latest flowering, largest bulbs. You can place them quite close together (when planting up pots we often cram plants in compared to planting out in beds) – leave about one bulb’s width between each. Make sure the pointy bit of the bulb is pointing upwards.
- Cover with about 3 inches of compost and gently pat down with your hand.
- Now add your next layer of bulbs; you do not need to worry about whether they are placed over a bulb on the level below – as the bulbs grow they will weave their way around the bulbs above them, as if they were an obstacle in the soil such as a pebble.
- Add about 3 inches of compost over these bulbs. Pat this layer down gently.
- Now you can place your smallest and earliest flowering bulbs on the top level. Once you are happy with the placement, push these bulbs down slightly into the compost and then sprinkle a thin layer (1 inch or so) of compost over the top.
- Add a thin layer of garden grit over the top.
- Water well (you will not need to water these autumn planted bulbs again, unless the weather is very dry and the soil is no longer moist).
- You may want to cover your pot in chicken wire or similar to deter hungry squirrels from digging up your bulbs. This can be removed before the bulbs flower in spring.
- Label if necessary and place your pot in a sheltered, sunny spot.
Voila! You’re done. Reward yourself with a nice cup of tea.